Midnight Sinner: 1/48th Squadron (Czech Model) F3D-2 Skyknight
- May 13, 2018
- 4 min read
Updated: Jun 29, 2024
I picked up this 1/48th F3D Skyknight kit after Squadron produced a limited reissue. It had been previously released under the Encore / Czech Model brand. You don't see a lot of these Skyknight kits built... there is a reason for that... I mean aside from the not-so-sleek lines and unkind nicknames like "Willie the Whale" and "Drut :) This is a limited run, multi-media kit and as such, requires a fair amount of dry fitting, sanding, filing (and sometimes scratch building) to get the parts to fit properly. There is typically more than the usual ejector pin marks & heavier runner sprues that will require careful attention during assembly. This kit challenged me more than most (of this type of kit), testing my patience and sense of humour at times.
Notable Kit Features:
Injection plastic parts were well molded with minimal flash
Finely engraved panel lines
Glossy surface texture. I strongly advise a wet sand during the build
The resin components (by True Details) give this Skyknight great detail in the pit and gear wells
Nice decal sheet with thin, well registered markings and stencils for three versions that are colorfully illustrated
Build Inspiration:
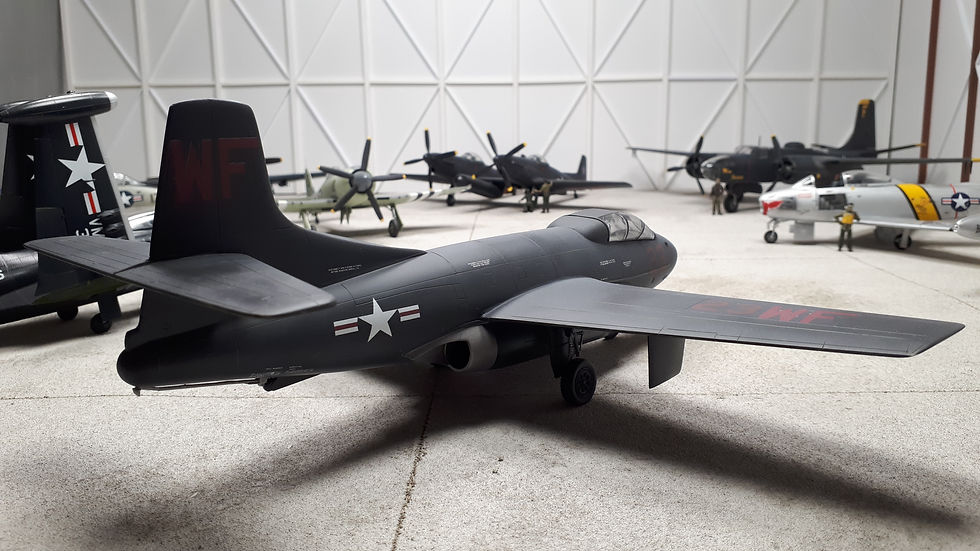
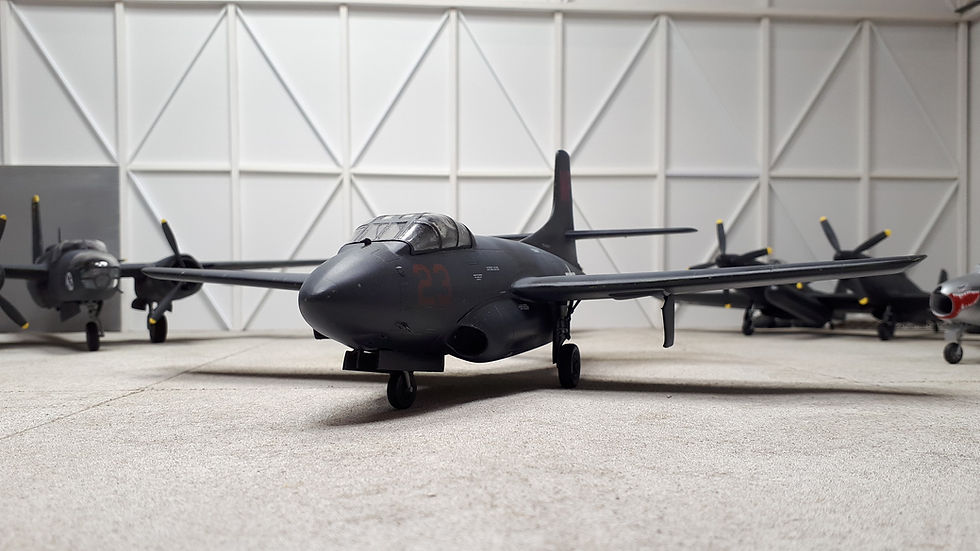
The Skyknight had a fairly significant career, first as a night-fighter in the Korean War, next as a platform for developing the AIM-7 and finally as an EW platform in the Vietnam War. Its combat career at night in Korea is what initially inspired me to buy and eventually build this kit. On the second of November 1952, a Skyknight of VMF(N)-513 scored the type's first shoot down in a jet versus jet night action, downing a Yak-15 jet fighter. The aircraft piloted by Major William T. Stratton, Jr., and his radar operator, Master Sergeant Hans C. Hoglind of VMF(N)-513 "Flying Nightmares" would be my subject. Little known fact: Skyknights scored the most shoot downs of enemy aircraft of any US Navy or Marine Corps fighter-type during the Korean War.

I'll credit JP for keeping me motivated to work through all the issues during this build as he was keen to see the end product (although he would have preferred me to build the EF-10 EW version :)

Heads-Up Report:
This is a longer than usual list, so you may want to get comfortable.
No tabs or alignment aids for joining part components (no kidding - have you built one of these types of short-run kits before? ...you may want to reconsider :)
The side-mounted engine nacelles, which mount on a built-up intake, will take a bit of effort and filler to fit properly
Intake and exhaust trunks, with compressor and turbine faces will be a major chore. (Trunks always create a seam sanding problem however these are also wider and longer that the respective recessed fuselage area) After some consideration, I substituted the intakes and exhausts
Dremel work was necessary to get the cockpit and the front wheel well to fit, eventually allowing the fuselage to come together
I superglued the resin wheel wells to the plastic wings. They are too high to fit in the wings so you'll need to substantially grind them down to the correct thickness... I also had to thin the plastic wings some to get the wells to fit (Remember to wear a dust mask when sanding resin)
Wings are designed to be simply butt-joined onto fuselage fairings... no tabs no spar... nothing... (I scratch-built a wing spar to reinforce this join)
Flaps and ailerons are molded into the main wing as well as wing-folds, so you're into a much bigger project if you want to add this detail
Landing gear will need work as well. Take extra care removing small parts as there are six individual ones for the main & three for the nose
The large, three-piece canopy is thicker than usual and not particularly well fitting


Kit Additions / Modifications:
Made basic seat belts for the non-ejection seats
Added weight in the nose to avoid a "tail-dragger" model
Recreated proper size intakes by forming styrene tube
Replaced exhaust tubes with brass tubes
Main fuselage was warped in my example so a multi-stage glue up process was necessary to try and correct this
Drilled out the fuselage to fit a square wing-spar that would assist in supporting and aligning the wing structure
Shortened the main gear 2mm and drilled holes in the gear well locations and gear struts to insert steel pins to strengthen these joints
The kit canopy sits too high, so to correct this I had to scrape down the fuselage base to lower the profile as much as I dared (not quite enough though)
Drilled out the gun locations on the lower nose
Undercoated the kit with silver on the leading edges and green primer on the body. I then over-coated this with clearcoat. This undercoat was then over-sprayed with the night scheme and the panel lines were scraped to reveal the green undercoats and silver chipping done to achieve a weathered look
End Result:

All that said, you shouldn't be surprised that I wouldn't recommend this kit unless you are a diehard SkyKnight fan with a good amount of model building experience. You can get a nice replica from building this kit and it looks the part when done, but it won't come easy ...you might say this kit gave me "Nightmares" and I am glad to have it on the shelf ;)

Feel free to comment or ask any questions - Keep on building, gain experience, challenge yourself if you like, but try not to stress yourself out over the build - it is suppose to be an enjoyable hobby after all - Cheers


Comments